Showing posts with label retouch. Show all posts

4.9.10

Melissa & Cordelia - Model shoot / Makeup by Kylie Bersinic

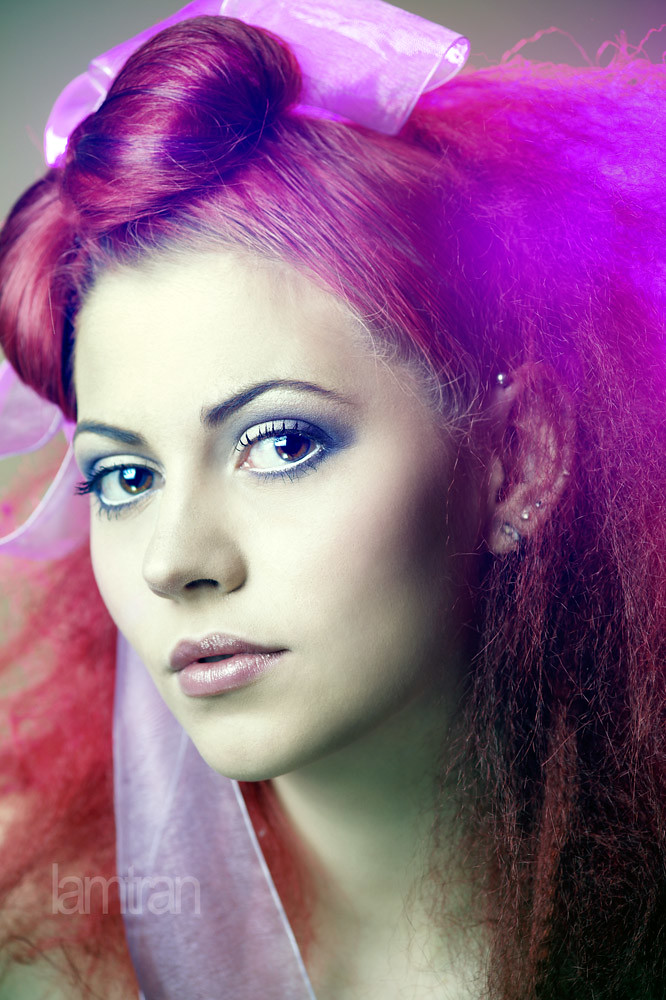
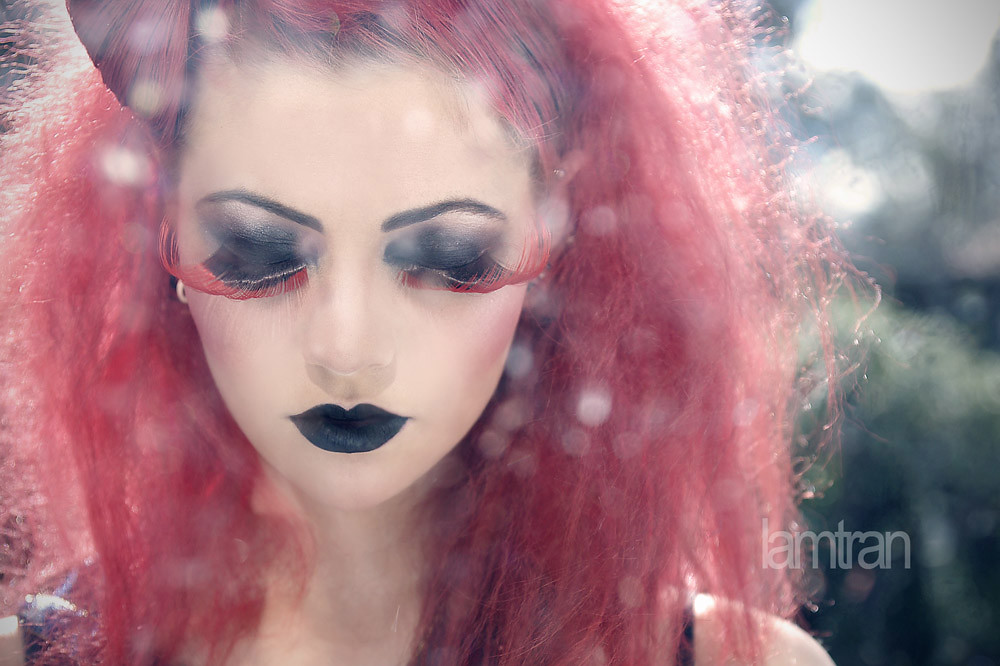
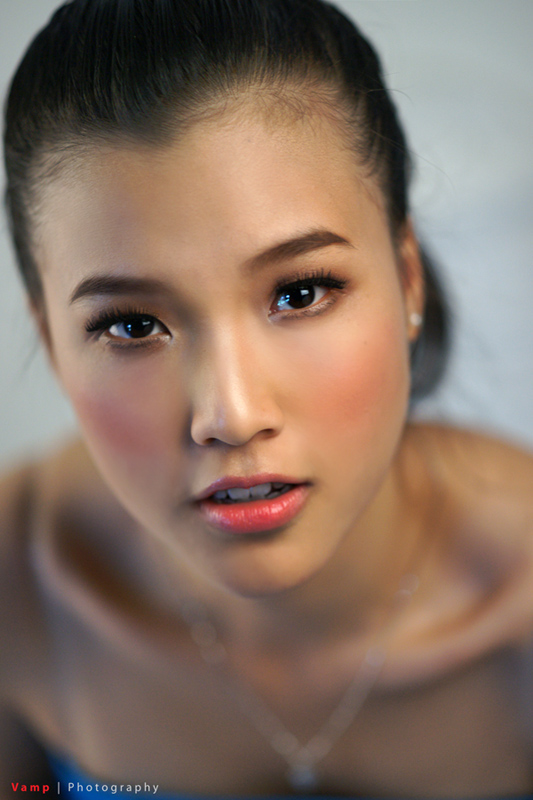
Kylie Bersinic, who is a very talented makeup artist in Canberra, asked me to do a shoot with her to expand her portfolio. Well, that's a good way to expand my portfolio working with talented people around me as well. Kylie brought one girl, Cordelia, who is not doing professional modeling, but has a very pretty face. And Elite Models sent me 1 model, Melissa, a gorgeous girl, to get her book updated. And Priya Chandra came to help with hair, she did an amazing job on those girls' hair.

I booked CIT studio to do this shoot but it was canceled in last minute (Dave called me in the night before the shoot to cancel it) then I had no choice to move the shoot into my house. Actually I didn't mind to do it at my house. We can do photoshoot everywhere as long as we know how to play with our lighting. So basically I used a white (a bit more yellow-white) wall as background and setup my flashes for this beauty shoot.

Check out behind the scene photos:
We did it in my living room, a bit messy though.

That made my lighting. I played a bit with color gels as well.


And here are the photos:
Model: Cordelia

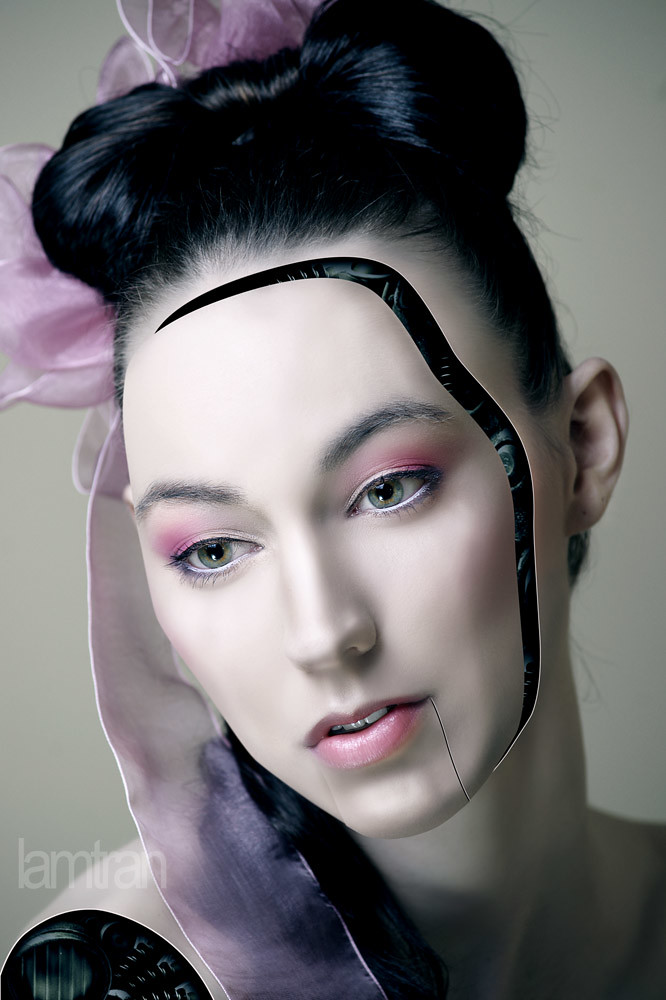
Model: Melissa


Outdoor:
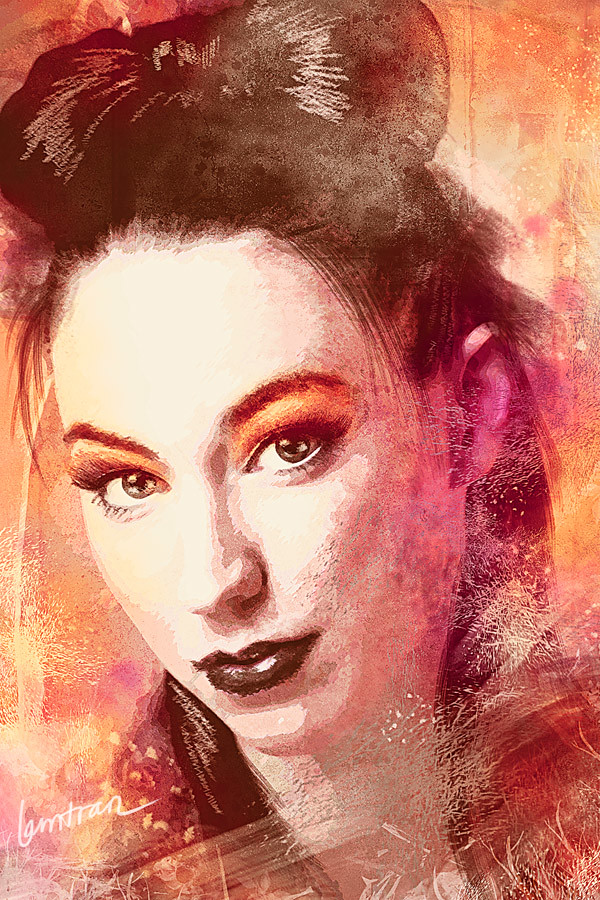
Playing with digital art:

Makeup by Kylie Bersinic
Hair by Priya Chandra

8.5.10

Emotional Dusk Lighting

Ok, I just want to share with you guys some small tips to create a very emotional 'dusk lighting' as I used in the shoot with Elizabeth Payne (View post here)

The point is, you should choose to use the ambient light very carefully and to do this, you need to get some lucks then, because not everyday could be a beautiful sunny day. So the first thing to do, you should do the shoot around 3:30pm to 5pm and it depends on the weather (it's Fall in Australia now so the sun come down very fast, different with summer, we still have sun light at 8pm).
The second thing is, adjust your White Balance setting into 5500K. If you use Auto White Balance to shoot when sunset, your camera will automatically adjust the color temperature into lower than 5000K to make your photo look 'cooler' against the 'warm' color temperature of the environment.

Then, use Color Balance in your Photoshop to adjust the color a bit (Image -> Adjustments -> Color Balance) with some setting like this:
You can see that it just slightly shift the color tone a bit to more yellow and red because I don't want to blend the color a lot and I still want to keep the color of the clothes as well.
Then use the final trick to make to photo look warmer: Photo Filter (Image -> Adjustments -> Photo Filter)

You can also want to use Hue / Saturation to give more saturation on Yellow and Red, but it depends on the photo you want to edit.


And that's it, now we can see the result:

1.4.10

HSBC Shoot


Another job I had done for the agency JWT in August last year. This job was quite simple, shooting and editing with digital image. The objective was shooting a wallet then applied a graphic image of the HSBC VISA Debit card on the top of the wallet. Quite easy for me although the agency and me spent almost 2 weeks back and forth for the final revision. And I came to Malaysia right after the shoot so I had to do the digital image on my trip in Malaysia, working on phone and email with the agency, funny.

The shoot was very simple and very fast, I set all the lighting ready then Joe, the Art Director from JWT came and we shoot in 15 minutes, with several different angles to make sure that we could had enough angle to composite into the visual we want. And here are 3 final shots we chose to use for the visual:


I used a bit part from each photo above to composite together with the graphic into the visual in this layout, you can see that I used a leather material for background, required from the agency.

3.3.10

Before / After 3

Model: Margo Yalkovskaya
MUA: Linh Doan
Stylist: Chu Sen

From what I've said in the last entry (http://lamtrancit.blogspot.com/2010/02/before-after-2.html), I keep my words and make another short tutorial here with more information for the "3 steps": Dust and Scratch, Gaussian Blur and Add Noise.

This is the original image from a shoot for Margo Yalkovskaya and model Kaleriya.


The images size is quite large (it was created from my Sony A900 body). Why should you care about the image size? Because depend on how large the area skin you want to fix, you might use the filter more variable.
 

Duplicate your Background Layer to have Layer 1 (shortcut: Command J or Ctrl J on Windows)

Use Patch Tool or Healing Brush or Healing Brush Tool or Clone Stamp Tool to fix some major spots on her face.
You will have some results look like this


Next, duplicate to new layer, the new layer will be automatically named Layer 1 Copy
Then you begin to make new skin tone for her.

Use Dust And Scratch filter to have a window look like this:
 
You can choose a suitable number for the Radius. In the picture above, I choose 50 pixels because I have a skin area need to work with. You can adjust the Radius by dragging the arrow then check / uncheck to Preview box to see the result.
Hit OK to apply the filter.


Next, use the Gaussian Blur filter:

Again, find a suitable number for Radius. This step will help to soften area between shadow and highlight.
Hit Ok.


And next, Add Noise filter, you can skip this step if you like to have her face look smoother and softer. But I suggest you should do this step to add some little texture on her skin
 

If you're not sure how much noise you need to add, see the picture above as an example.
After that, apply Gaussian Blur filter one more time to soften those noise. See the picture below:


Remember that all these filter steps was applied on the same layer (that would be Layer 1 Copy)
Add a layer mask on the Layer 1 Copy and fill Black color on the photo when you select at the layer mask. So now you hide everything that was display earlier on the Layer 1 Copy. (You can also hold Alt when click to the button Add Layer Mask so that no need to fill the black color)
 

And now, use the Brush Tool, choose Soft Round Brush (brush's opacity at 10%) to paint white color into the area on her face that you want to get them soften. Avoid to paint on the areas that you want to keep the detail (i.e: eye, noise, lip, hair ...). If you think you overdo and the skin look so soft, you can change brush's color to Black and it will have the reverse effect.
So let's make it simple:
- Paint White will reveal the effect that you've done on Layer 1 Copy
- Paint Black will hide the effect away.
You can look at the picture below as a reference to see how much you need to keep the effect:

Finish the paint job, you will have the result like this:


Now you can duplicate Layer 1 to have Layer 1 Copy 2, then merge both Layer 1 Copy and Layer 1 Copy 2 to 1 layer. You can do this or skip it, really doesn't matter.
Now the photo will look like this:


Now apply some more additional steps to make the photos look better for example, use Clone Stamp Tool to fix the area on her forehead and her cheeks
You will have result like this:


Now you can do the step with Burn Tool and Dodge Tool as I've introduce in the last entry and adjust the Level or Curve to have the final result like this (totally up to you lol):

And yes, we have just finished! Congratulations! Yay!!!! 

Phew, so many steps for me to create this tutorial. I could say that this is the first time I do some thing like this hahaha I hope you don't mind if I made any mistake above. This entry, actually is just a litte sharing from what I've known for photo retouching. It's not a perfect way to do the skin job. You can use some plugin to create a complete new skin tone which could look so fake (but you can fix by using the layer mask). So if you know something that can give a better result or something that you want to correct what I've said above, please feel free to share with me. Thank you.

27.2.10

Before / After 2

 
 Model: Ái Châu
MUA: Ghy
Hair: Tuấn

This is another Before / After image that I've said in this entry. The photo was from a beauty and hair shoot I've done in 2009. I wish I could do some tutorial vid for basic retouch like this but my laptop is really crap to capture screen motion. So I upload here 4 photos to explain some steps that I've done.


This is the original photo. As you can see the overal exposure is ok but I thought the photo looks a bit flat so I will adjust the Level to create some contrast.


In this photo, I used Level to adjust the contrast but you can notice that I still kept the hair's contrast as the same in the original. The hair somehow was the main key of this shot so I didn't want to loose the hair's details because of the contrast.
Then I used one of the most powerful tool (to me) to retouch her skin, that was: Patch Tool (shortcut: J) combined with the second most powerful tool: Clone Stamp Tool (S) to clean those shadow created between the cheek and nose.
Next step, I wanted her skin tone to look softer because it was so sharp (I shot at f10) then I used 3 filters to do this: Dust & Scratch, Gaussian Blur and Add Noise. I promise I will post another entry to explain more detail for this step although many of you have known about it already ad I've said, these are very basic retouch skill that you could find in any tutorial website.
After fixed her skin, then I wanted to make the photo look more eye catching by the contrast between shadow and highlight, I used 2 most popular tools: Burn Tool (O) and Dodge Tool (O)
Using Burn Tool apply into the shadow area to make they look stronger and deeper other while Dodge Tool could make the highlight area look brighter. (To do this, your photo first must have some distinguishable shadow and highlight)
The result looked like this:
You should remember that the result of this step depends on your style, your taste and your needs. There is no limit for making it look stronger or softer. Maybe some of you may say that I was overdo in this photo but this is something I like to create and to see. If you don't like it, just say, this is not your style.
You can also notice that I have played a little bit with the Liquify Filter to fix her nose and her hair, then a little bit contrast and saturation on her hair.
And when the photo was done as this step, I believed that it was good enough for print or web media but I'd like to try with B/W to see how could it look.

And here it is:

Well I kinda like this B/W version than the color version. But you should remember that when you convert a color photo into B/W photo usually it might be loose some color information then you can loose some contrast detail. You can fix that by adjust the level for shadow area then you can apply the Burn Tool to create more contrast.


Well, and that's it. Maybe some of you may think that the final photo look not too good. I didn't say it look good. But this is something I just want to show you about some basic retouching skill so it's not a big deal at all. Welcome all comment.

26.2.10

Nokia Ovi shoot - Published

My last commercial job that was done just a few day before I left Vietnam to Australia. The campaign will be using this layout for Vietnam, Thailand, Indonesia and Singapore in 6 months from February 2010.
Agency was JWT Vietnam. Hải, the PM from JWT, has just sent me this final layout.

The background, actually was another shot given from the agency which had a talent on it already and that was NOT layer-file.. So my job was taking photo of the new talent and place on that background. The shoot was quite simple but after that I had to do a lot of D.I works because the background was really busy with many lines of shadow. Finally it was done and both agency and client were happy with the result.


The talent was Hoàng Oanh, it was coincident because I had some portrait photoshoot with her before this commercial ad. Casting agency was Flash.

Bonus: Some of Oanh's photos:


25.2.10

Before / After

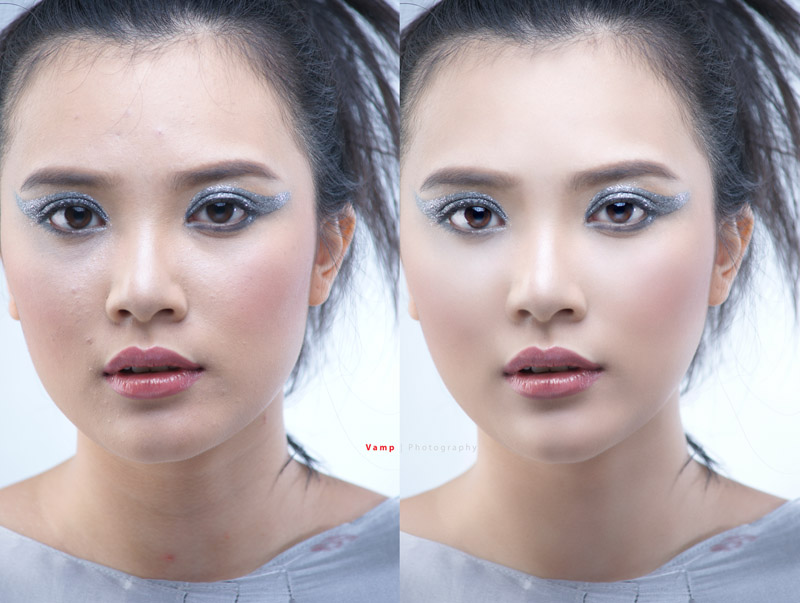
Ok, I usually don't upload Before / After photo like this because the model could be upset to see her original photo hahah joking but this time is an exception. I just want to show how a photo can be fixed in a digital way. You can notice that I haven't changed the color tone as well. And I haven't fixed her hairs on the forehead edge although I can do it easily drawing some hairs with my Wacom tablet. I'll show another Before / After photo next time.

Model is Kakao (her real name is Tú Thanh but she prefer to be called as Kakao), although she doesn't work in the industry as a professional model but she's one of my favorite model that I've worked for a few photoshoot.
MUA is Trân

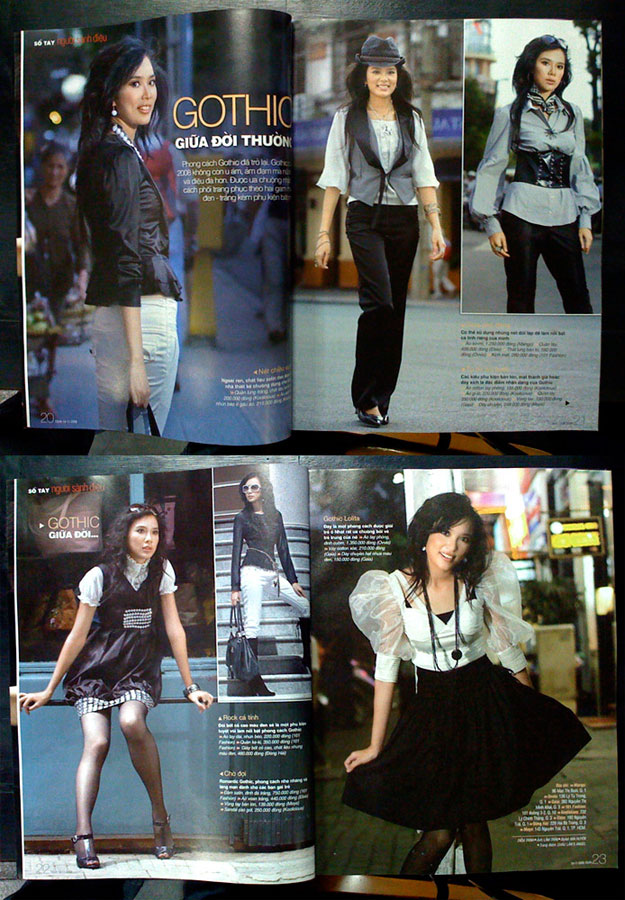
One of our published job, this was one of my very first magazine shoot, was done in Nov 2008